


Categories: cake decorating / Decorating / baking / Christmas Eve
Finding the right sugar
From gingerbread houses to Christmas sugar cookies, there are a lot of ways to whip up some holiday cheer in the kitchen. And each one of those recipes calls for a different C&H® Sugar.
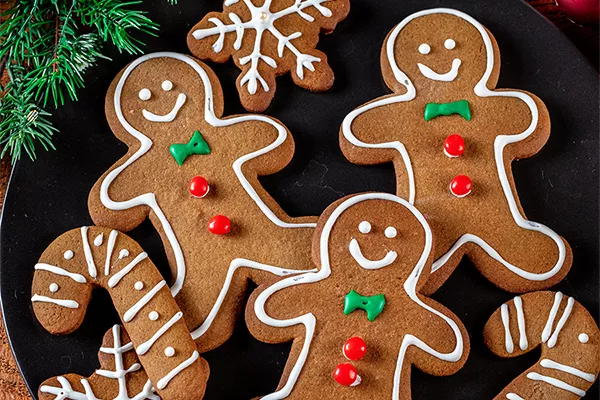
Dark Brown Sugar
Whether you’re baking your first Gingerbread House or your hundredth batch of Gingerbread Cookies, the secret ingredient is C&H® Dark Brown Sugar. Its complex and dark notes add a delicious molasses taste that gives a little kick to every recipe. Just keep in mind: when you substitute dark brown sugar for light brown sugar, your cookies will be slightly darker in color and will have a richer caramel, toffee taste to them.
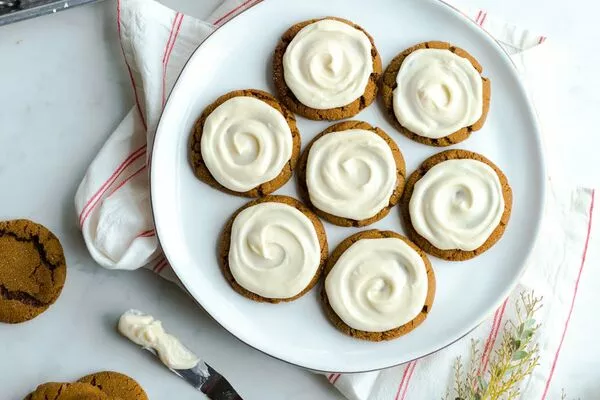
Light Brown Sugar
If you’re looking to bake some holiday goodness with a light nutty, caramel flavor, then C&H® Light Brown Sugar is perfect. From your grandma’s secret cookie recipe to unbelievably tasty Snickerdoodles, you’ll add “wow” to every moment of the holidays with light brown sugar. Keep in mind: If the recipe doesn’t specify Dark or Light Brown Sugar, then C&H® Light Brown Sugar is what you need.
Granulated Sugar
When you think of the holiday cookies from your childhood, that taste you’re remembering likely came from C&H® Granulated Sugar. This sugar is colorless, odorless and neutral in flavor, allowing the flavors of other ingredients to rise to the surface. Whether you’re baking classic sugar cookies with a delicious vanilla aroma or Polvorones that melt in your mouth, you’ll find C&H® Granulated Sugar is the perfect ingredient for many delicious holiday moments.
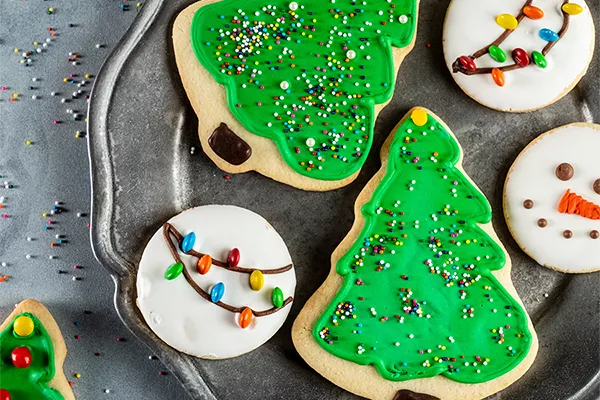
7 Steps To Decorating Your Holiday Cookies
Once your flavorful cookies are baked, it’s time to frost them to perfection. Use our tips for decorating cookies with royal icing below to get started.
1. Preparing Royal Icing: Let your holiday cookies cool completely. Then, prepare your royal icing using a mixture of egg whites and powdered sugar, or meringue powder and powdered sugar.
2. Mixing Tip: When you’re outlining the royal icing, add a little extra powdered sugar until the consistency is thick like paste.
3. Add Some Color: No matter what color you’re creating, it’s important to remember that a little food coloring goes a long way. Start with less than you think you'll need. You can always add more coloring to achieve a darker color, but once it's in there, you can't take it away.
4. Outlining: Use a piping bag with a small tip to outline the shape of the cookie. Pro tip: Hold the bag with your dominant hand and the tip with your other hand as a guide. Gently squeeze the top of the bag, and when you’re finished, set the cookies off to the side to dry.
5. Filling Your Cookies: Use a thinner icing when filling in your cookies. You want a soft pudding consistency for this step. If your icing is too thick, you just need to add some water. Note: For a solid color, you should try using a squeeze bottle or spoon to fill in the outline. This is referred to as “flooding the cookie.”
6. Decorating: After the base has dried, decorate using a piping bag. This is your chance to really make some beautiful holiday cookies, so take care when applying your designs. The difference between “oh” and “oh no” is in the details.
7. Toppings: If you’re looking to really make your holiday cookies sparkle, try adding a topping such as cute candies or sprinkles for decoration.