


Categories:
Ingredients
½ cup Salted butter
- ½ cup C&H® Granulated Sugar Easy Baking Tub
- ¼ cup C&H® Light Brown Sugar
- 2 Large eggs
- 2 tsp Gluten-Free Vanilla extract or seeds from 1/2 vanilla bean.
- 2 ½ cups Gluten Free 1 to 1 Flour (extra for rolling)
- 1 ½ tsp Baking Powder
- ½ tsp Salt
Gluten-Free Easter Egg Sugar Cookies
2 ½ cups C&H® Powdered Sugar
- 2 ½ tbsp Meringue powder
- ¼ cup Warm water
- ½ tsp Gluten-Free Vanilla extract
- Gel food coloring (pink, brown, blue)
Royal Icing
Rate Recipe
Instructions
Gluten-Free Easter Sugar Cookies
Step 1
Pour gluten-free flour, baking powder, and salt into a glass bowl. Stir until incorporated.
Step 2
Preheat oven to 400 degrees.
In the bowl of a stand mixer (or by hand) cream together butter C&H Granulated Sugar Easy Baking Tub and C&H Light Brown Sugar until light, fluffy, and well combined.
Step 3
Mix in eggs and vanilla extract (or vanilla bean) until thoroughly combined.
Step 4
Stir flour, baking powder, and salt into the butter, sugar, and egg mixture, mixing until the cookie dough forms. The cookie dough is ready when it attaches to the paddle and the mixing bowl is clean.
Step 5
Dust dough with additional gluten-free flour, then roll out onto a parchment-lined surface (about 1/4 inch thick).
Step 6
Cut cookie dough into Easter themed shapes using cookie cutters. Then remove all excess dough from the cutout cookie shapes and transfer the cookies (still on parchment) onto a baking sheet.
Step 7
Bake cookies for 4-5 minutes. Pull from oven before they begin to brown. Transfer cookies to a cooling rack and let cool fully. Repeat steps for all remaining cookie dough.
Royal Icing
Step 1
Combine meringue powder in the bowl of a stand mixer with warm water. Whisk on medium for 2-3 minutes until light and foamy.
Step 2
Then switch to a paddle attachment and mix in C&H Powdered Sugar and extract to the meringue powder and water, mixing on medium for 2-3 minutes until well combined. At this stage, the icing will become very thick.
Step 3
Add warm water a few splashes at a time to the icing until it’s the consistency of toothpaste (This is for outlining the cookies.)
Step 4
Spoon out 1/4 of the toothpaste-like icing into a bowl and add a drop of pink food coloring. Mix in pink coloring until combined and desired pastel color is achieved. Transfer half of the outline icing to a tipless piping bag and seal closed. Thin out the remaining pink icing in the bowl by adding droplets of water a few drops at a time for flooding consistency. You’ll know the flood icing is ready when lines from a spoon disappear in 5-6 seconds.
Step 5
Transfer the flood consistency icing to a piping bag fitted with a tipless piping bag. Repeat steps for all remaining colors of icing (tan, soft blue, white) then set aside for decorating.
Easter Sugar Cookie Decorating
Step 1 - Outline & Flooding Cookies
Using the thick outline icing, pipe a border along the outside edge of the Easter egg cookies and bunny cookies.
Step 2
Then fill each outlined cookie with thinned flood consistency icing, squeezing the icing from the piped edge, inward, until each cookie is fully covered.
Step 3 - Blending Icing
Use a toothpick or scribe to quickly pop air bubbles and to evenly blend the icing on each cookie. Repeat steps for all of the cookies, in desired colors (tan, blue white.) Then set aside to dry for about 2 hours.
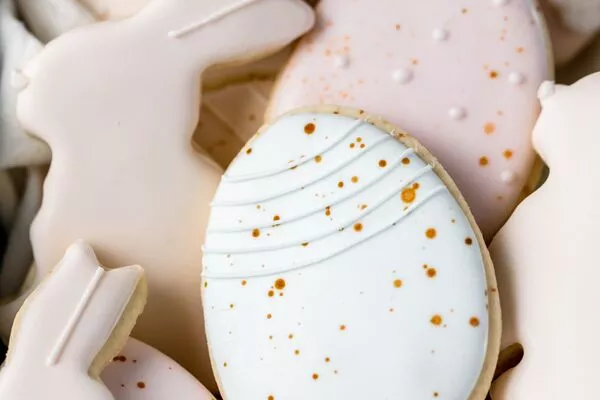
Step 4 - Decoration details – Speckled Eggs
Once cookies are dry to touch mix tsp brown gel food coloring with water into a bowl. Place egg-shaped cookies on top of a piece of parchment, then dip a pastry brush into the brown food coloring and water mixture and shake over the tops of the iced cookies to create the speckled design. Set aside to dry.
Step 5
Once the speckled design has dried, use the outline consistency icing to add additional decorative details to the egg cookies. Pipe thin lines and dots onto the cookies for a simple and beautiful finishing touch! Set aside to dry for at least 1 more hour before serving.
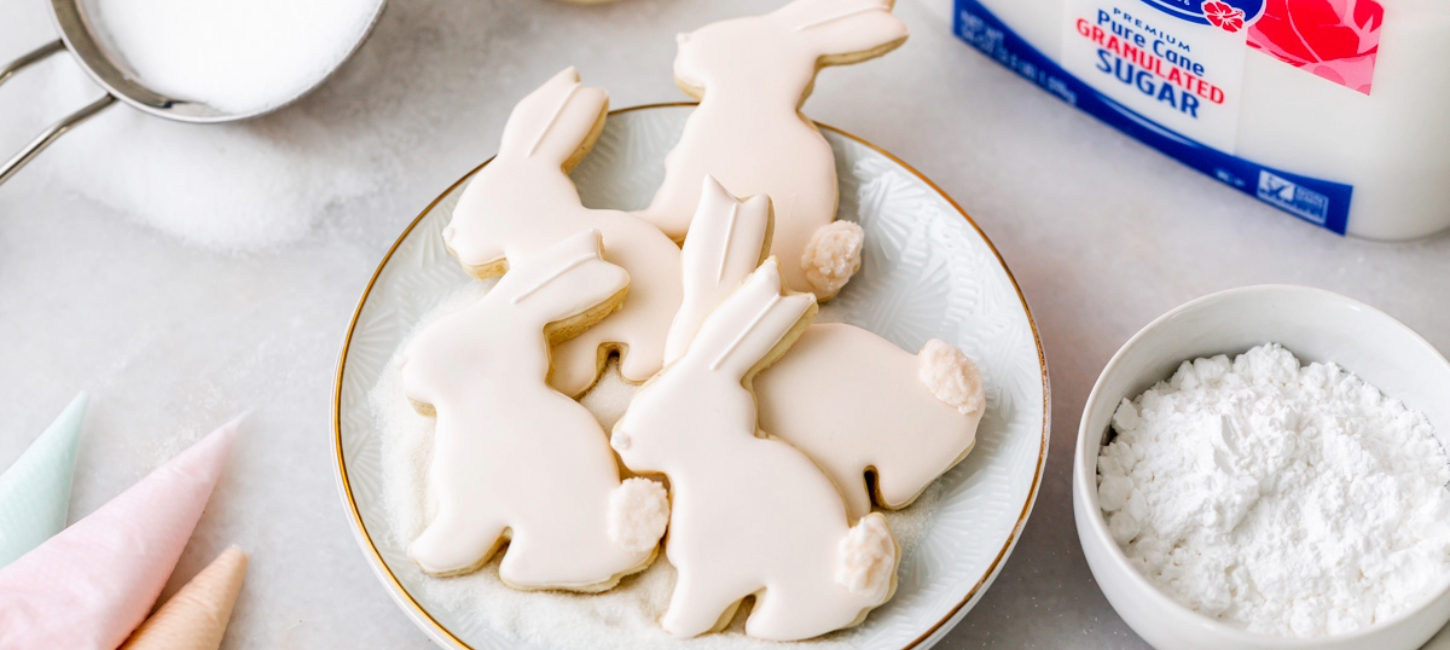
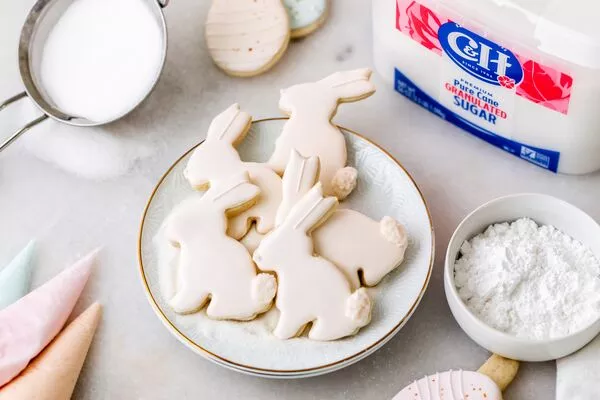
Step 6 Decoration details Bunny tails
Create a sugar tail on the bunny cookies by piping additional icing onto the tails of the bunnies, then dusting with C&H Granulated Sugar Easy Baking Tub. Set aside to dry for at least 1 more hour before serving.
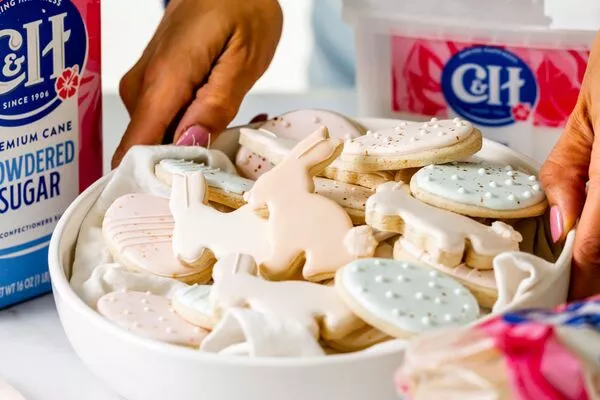
Step 7
The completed Easter cookies will look beautiful served on a cake stand or platter on upcoming Easter Sunday. Store in a sealed container for up to 3 days, or freeze for up to 6 months. Enjoy!
Additional Tips
- Using C&H Brown Sugar in this sugar cookie recipe, keeps the gluten-free cookies soft.
- Bake the cookies for 4-6 minutes maximum for ultimate texture.
- The cookies can easily be baked in advance and stored or frozen until ready to decorate.
Rate Recipe


Recipe by
Brandi Reid
@poshlittledesigns
Brandi is the creator and founder of Posh Little Designs, specializing in delicious recipes and sweets for any occasion, with an elevated/creative twist! From macarons and sugar cookies, to treats with allergy friendly ingredients, her recipes are tested and suitable for any home cook, with step by step instructions and tutorials!