

Categories: salads & fruits / jams, jellies & spreads / Summer
C&H® Sugar Jam and Jelly Recipes
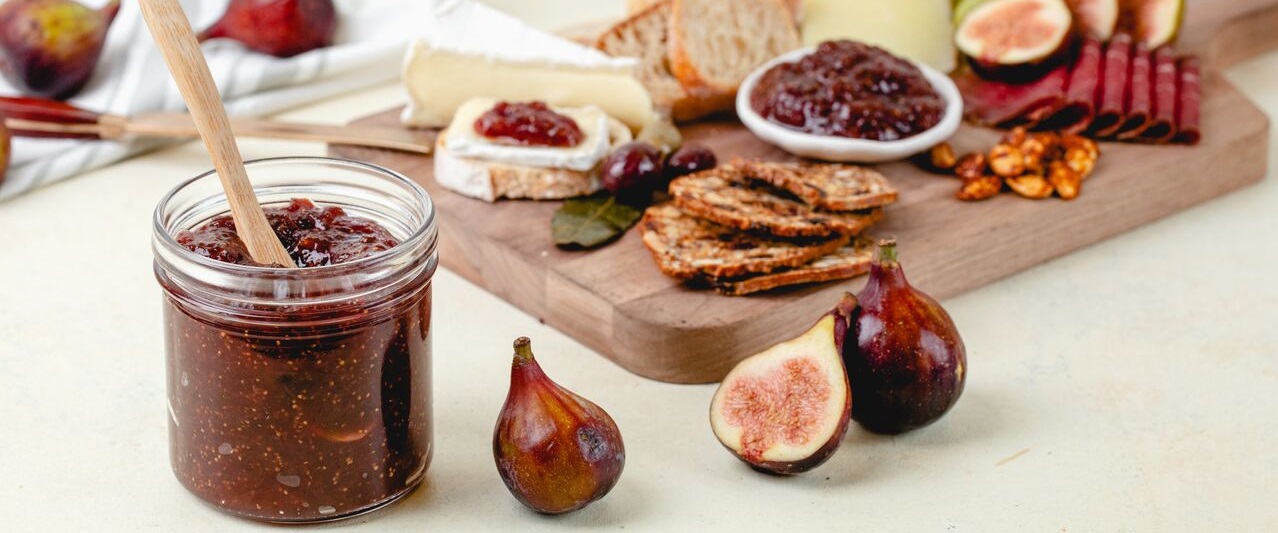
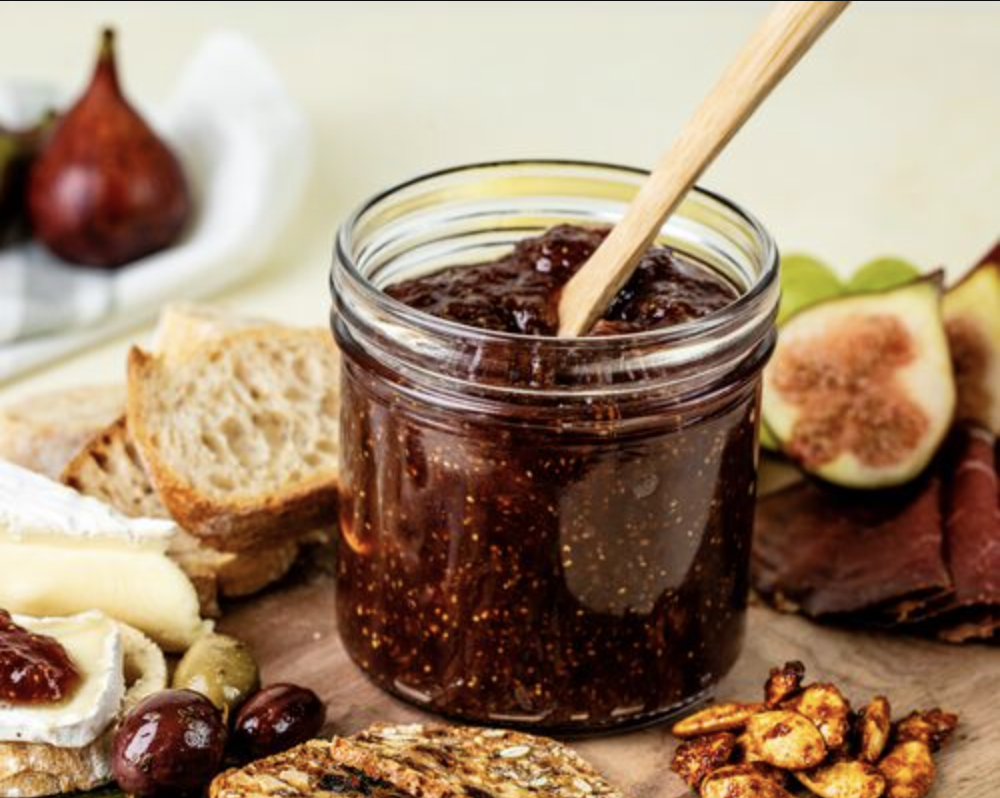
- One of the C&H® jelly recipes we recommend is Fig Jam made with ripe figs, freshly squeezed orange juice, and Organic Raw Cane Sugar.
- For a fun twist on a classic recipe, try enjoying your jelly in Peanut Butter & Jelly Thumbprint Cookies.
- We also recommend this fig preserves recipe made with C&H® Light Brown Sugar, perfect for any charcuterie board.
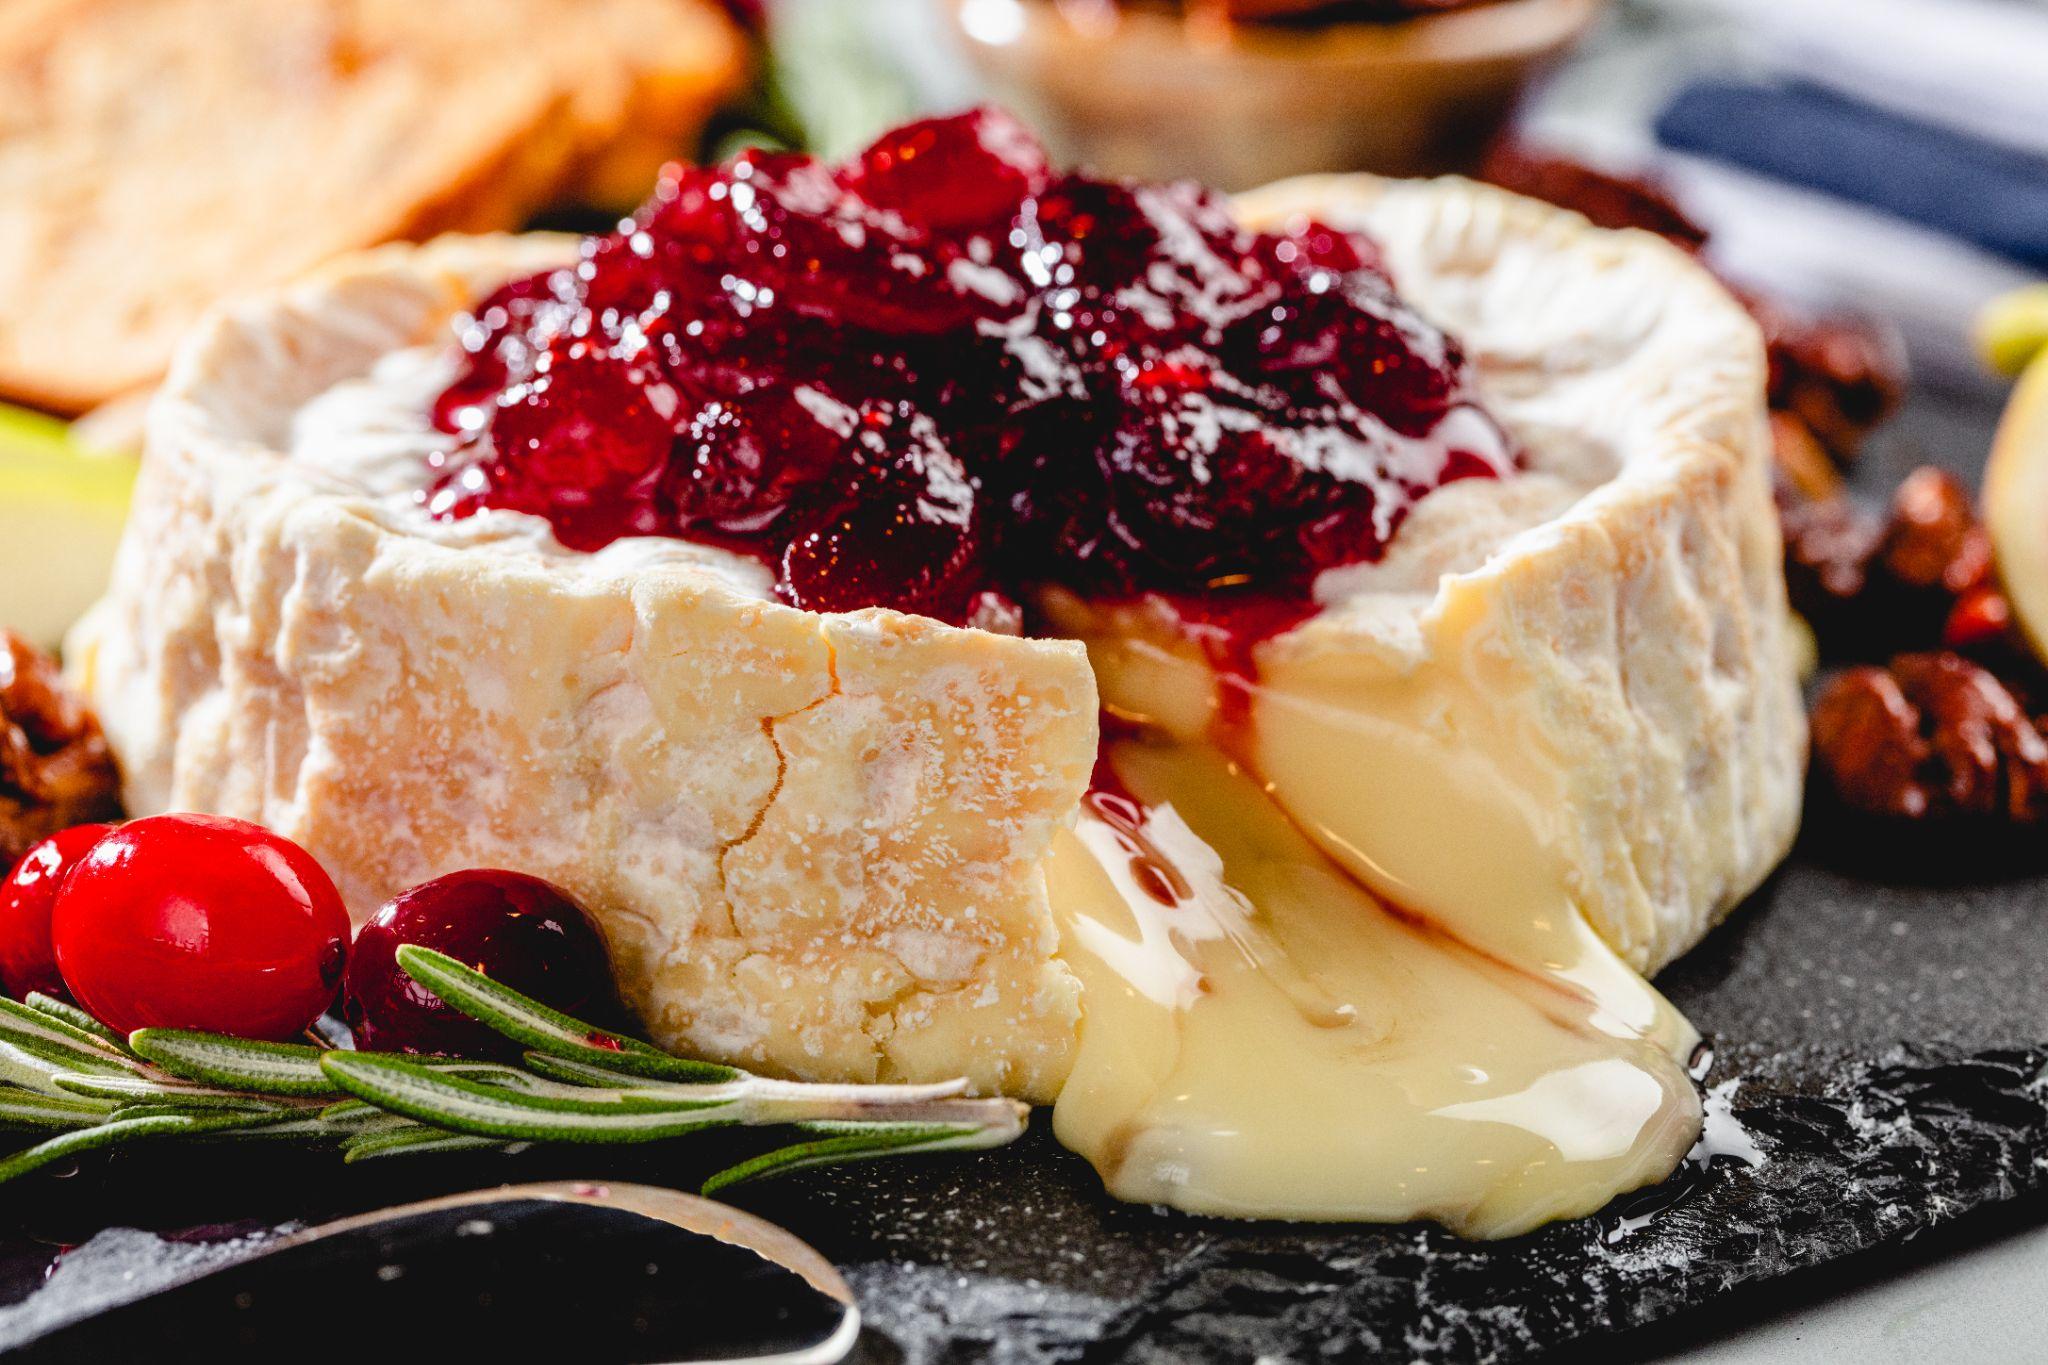
- Try topping baked brie with your homemade jellies and jams like this Cranberry Baked Brie recipe.
How to Make Homemade Jelly
Nothing is more comforting than the taste of homemade jelly. Making your own tastes better than the store-bought counterpart, and it gives you complete control over what ingredients you choose. You can also make unique jellies like mayhaw, mint and kumquat that you likely won’t find in your typical grocery store. By following these simple steps, you’ll be able to create an array of delicious spreads that will no doubt impress your family and friends.
Decide What Kind Of Jelly You Want To Make
There are a wide variety of jelly recipes to choose from, and it’s important to only use recipes that have a history of success. This will ensure that your jelly turns out the way you have imagined and that it keeps well over time.
You’ll need to decide whether you are looking to make your jelly “soft” or “hard.” Soft jelly can almost be poured onto your toast and hard jelly will have a more gelatin-like consistency. Whether your jelly is soft or hard will be determined by your recipe.
Pick Out The Best Fruits For Your Jelly
Selecting the best fruit possible is an essential step when making jelly. You will want to look for fresh options that are high in pectin and acid. Pectin is a natural thickening agent found in most fruits and is usually heated with sugar to thicken jellies to their desired consistency. Fruits like apples, grapes and crabapples are naturally high in pectin whereas fruits like blueberries and raspberries are lower in pectin.
Your fruit’s level of ripeness will also affect the consistency and flavor of your jelly. Underripe fruits contain more pectin and acid making them perfect to create thicker jellies. Riper fruits will provide your jelly with more robust color and flavor. A general guide is to use fruit which is a mixture of 1/4 slightly underripe fruit and 3/4 fully ripe fruit to take advantage of the natural characteristics of the ripening process. You can also add pre-packaged pectin and lemon juice, as needed, to balance the required pectin content and acidity. Your recipe will usually let you know when additional pectin or another source of acid is needed.
Prep Your Jelly-Making Supplies
For the perfect jelly, you’ll need the right tools for the job. Here are the canning- specific supplies you’ll want to have on hand:
- Glass jars
- A canning pot with a round jar rack
- Rings and brand-new lids
- A canning funnel
- A lid lifter
- A jar lifter
These items can be found at your local baking shop or easily purchased online. Now it’s time to gather your general supplies. Here is a list of the basics, but you’ll need to refer to your recipe in case there are any specific items required:
- A cutting board
- A paring knife
- A colander
- A wide-diameter saucepan with a heavy bottom
- A chopstick or table knife
- A shallow ceramic bowl
- A medium size measuring cup
- A ladle
- Cheesecloth
- Kitchen towels
Once you have collected everything you need, it is time to begin the jelly making process.
Canning Your Homemade Jelly
An added benefit of making homemade jelly is that you can either serve it fresh or place it in your pantry to be enjoyed for months to come. If you plan to serve your jelly fresh, you will need to place it into the refrigerator directly after it cools. Homemade jelly will last in the fridge for up to 3-4 months. If you plan to stash your batch for the long-term, follow these steps:
Step 1
Ladle your freshly prepared jelly into sterilized jars.
Step 2
Carefully put your jars into the canning pot and space them evenly.
Step 3
Place the lid on your canning pot and bring it to a rolling boil.
Step 4
Boil the jars for the amount of time recommended by your recipe.
Step 5
Carefully remove the jars and let them cool for 24 hours.
And just like that, you’ve completed your first batch of homemade jelly! For more information on the canning process, check out our recent article on “How to Can Fresh Fruit”